Merchant Setup
A merchant is any business or platform integrating checkout into their website — for example, an online store selling clothing or a booking site for events.
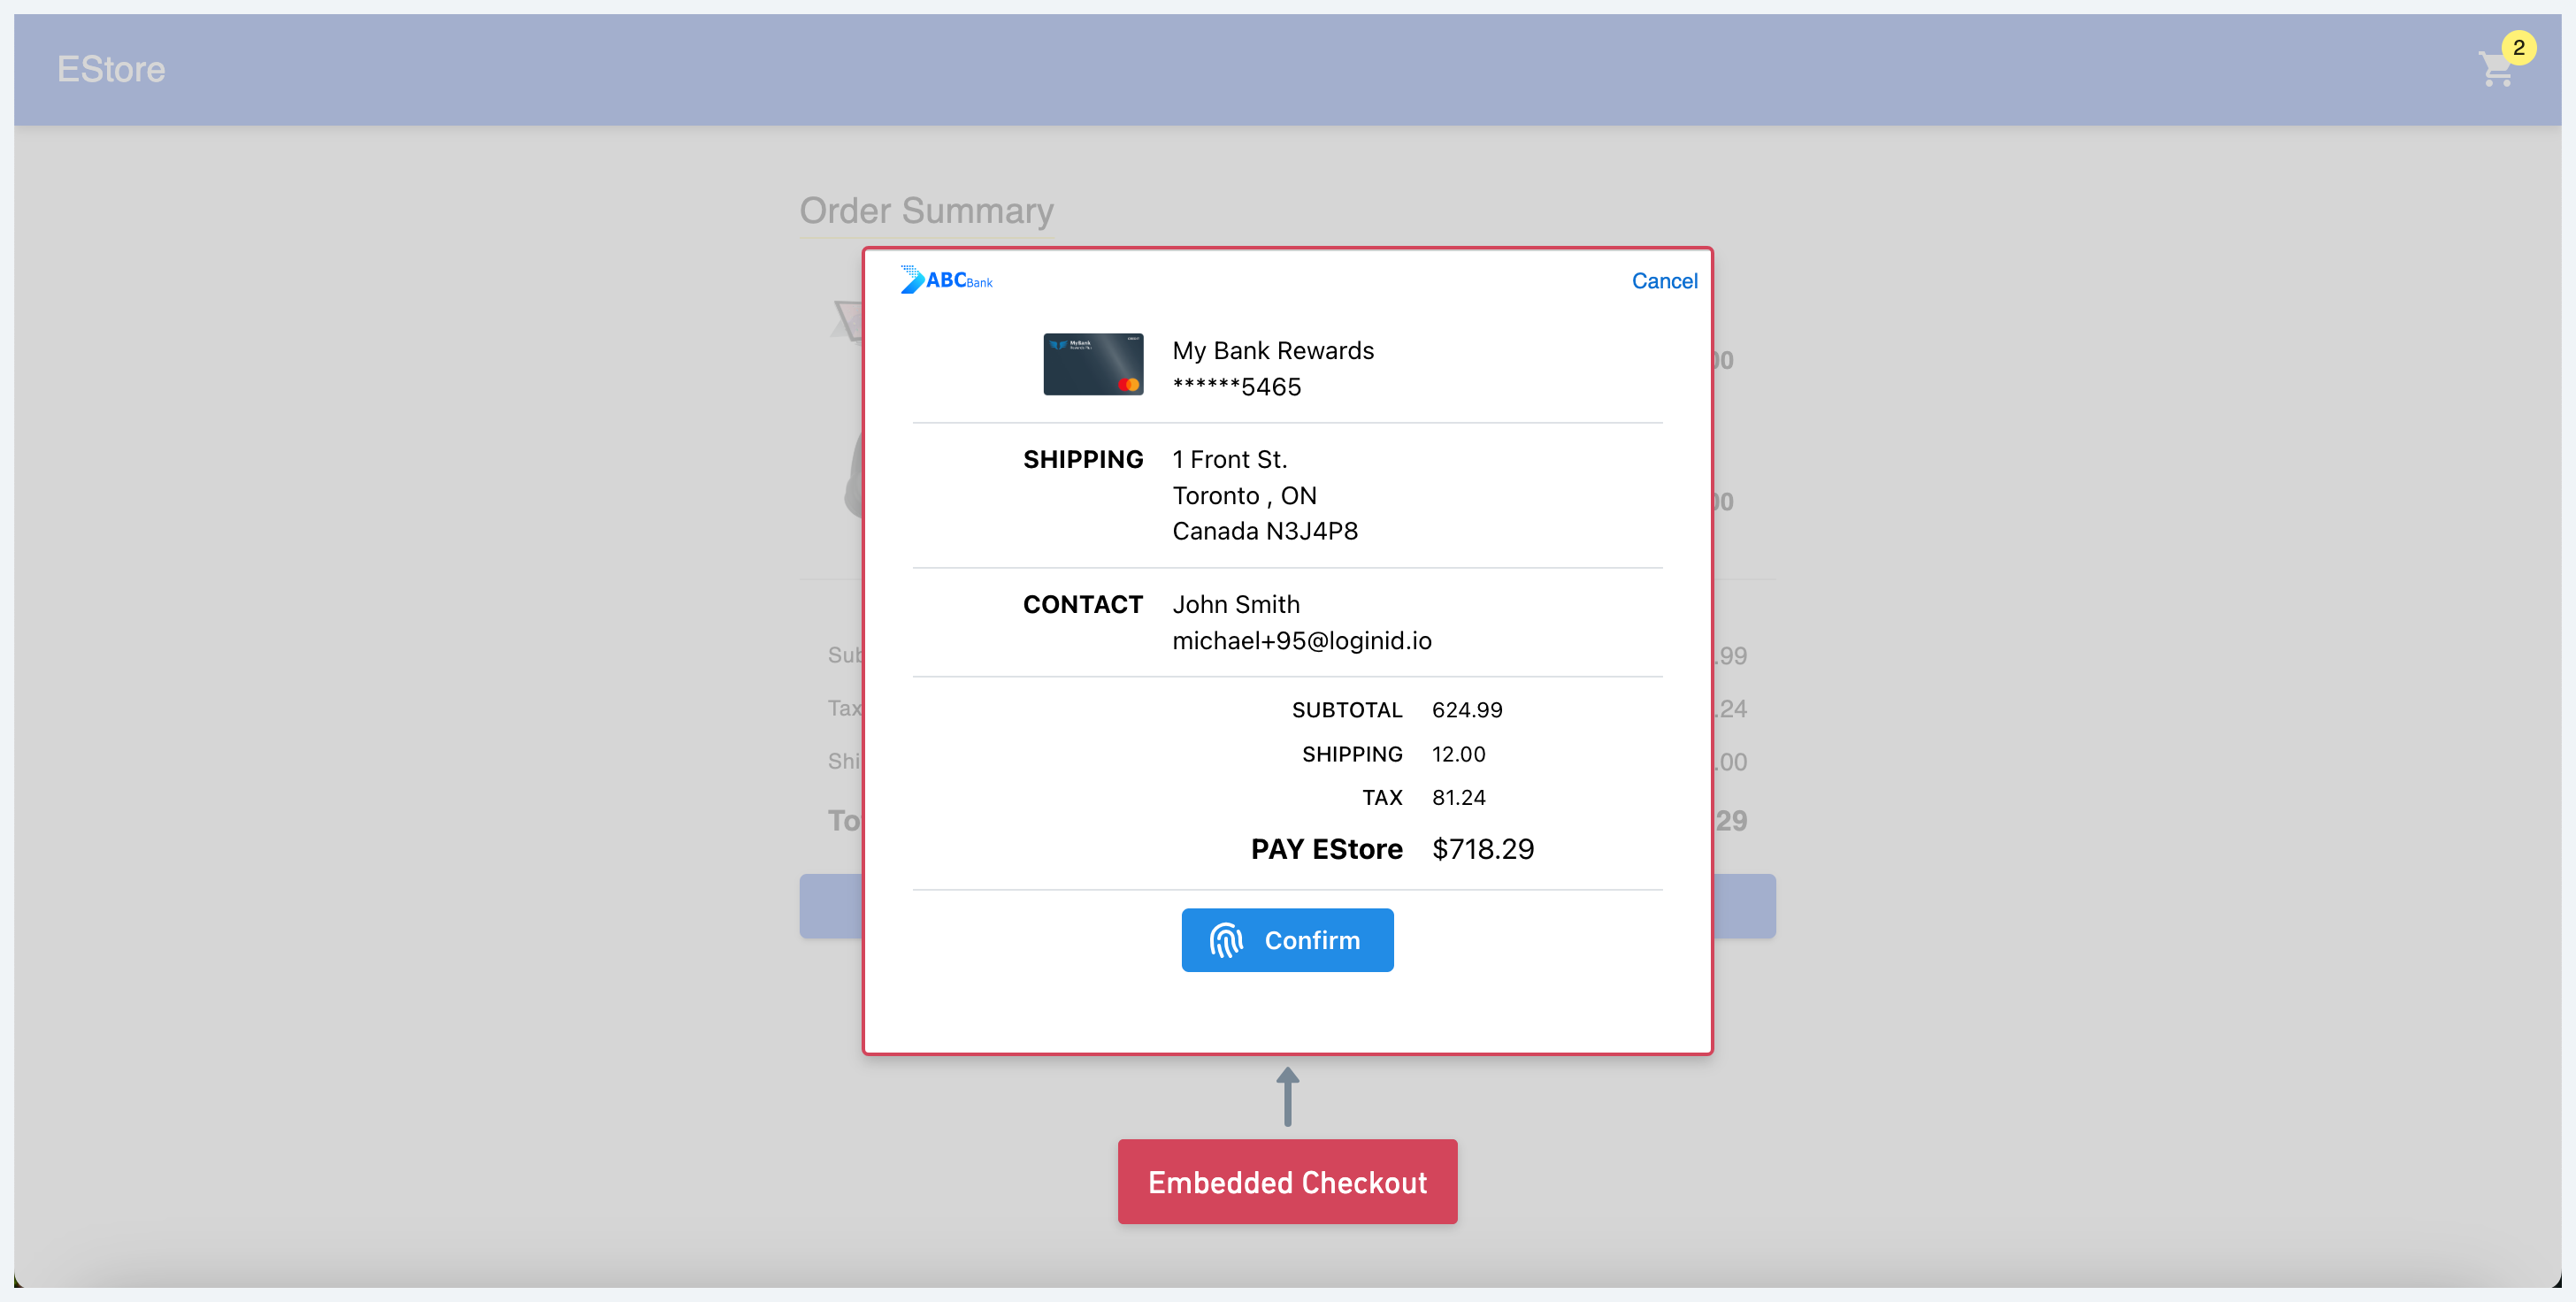
The Merchant Tools Library determines whether a user can complete checkout directly on the merchant site using an embedded wallet experience.
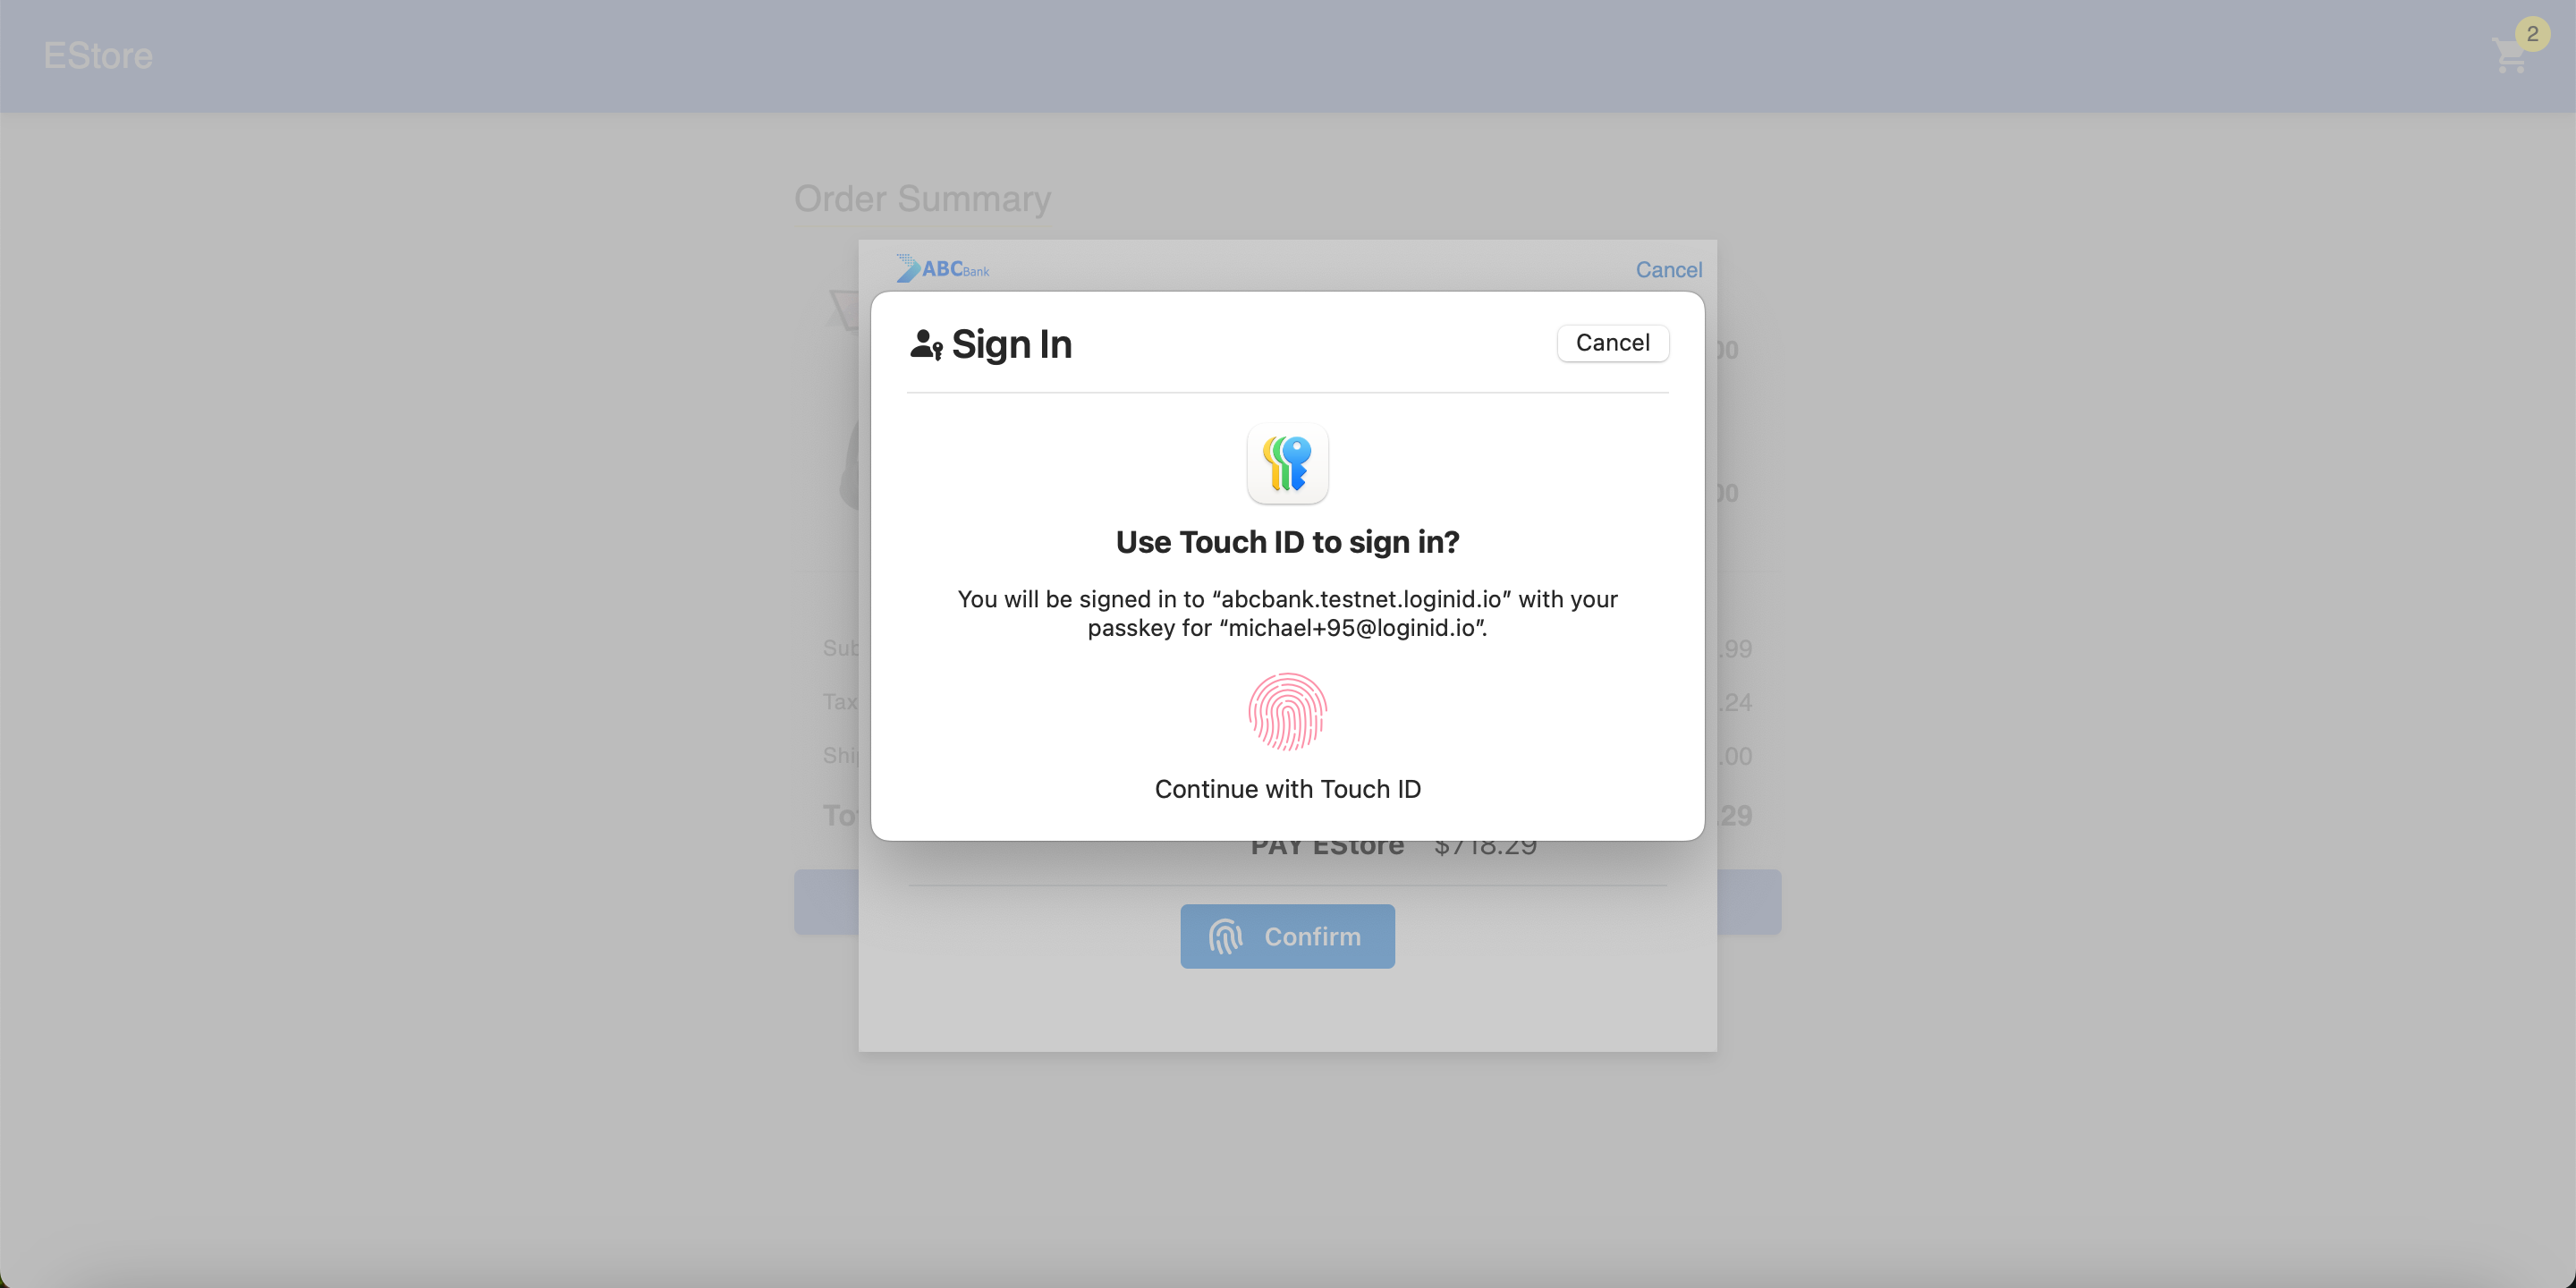
When embedded checkout is available, the user remains on the merchant domain while the wallet is loaded inside an embedded iframe. Authentication occurs using cross-domain passkeys.
When embedded checkout is not available, the integration automatically falls back to a redirect-based checkout flow hosted on the wallet domain.
Overview Flow
Integration
The LoginID Merchant Tools SDK manages the checkout flow for you. It handles:
- Generating and storing a browser-bound
merchantTrustId - Determining whether embedded checkout is available
- Remembering successful embedded checkouts for future visits
- Falling back to a redirect flow when required
A typical merchant integration consists of five steps.
Step 1: Get or Create a merchantTrustId
Before starting checkout, retrieve the browser's merchantTrustId.
import { LoginIDMerchantCheckout } from "@loginid/checkout-merchant";

const merchantTrustId = await LoginIDMerchantCheckout.getMerchantTrustId();
The SDK automatically generates a browser-bound identifier on first use and reuses it for future checkout attempts.
What is merchantTrustId?
A merchantTrustId is a cryptographic identifier that links a wallet account to a browser that has previously completed passkey registration.
It serves two purposes:
- Account Association — identifies which wallet account belongs to the browser.
- Browser Possession — proves the checkout is originating from the browser that originally registered the passkey.
The value is passed to the wallet during checkout, allowing the Wallet SDK to determine the appropriate authentication flow.
merchantTrustId was previously called checkoutId. Older integrations may still use this name.
Step 2: Check Whether the Browser Is Already Trusted
After a successful embedded checkout, the Merchant SDK marks the current merchantTrustId as trusted.
Before running discovery, check whether the current browser has already completed an embedded checkout.
const trusted = await LoginIDMerchantCheckout.isMerchantTrustIdValid();
If the trust ID is already valid, you can immediately proceed with embedded checkout.
If it isn't, continue to discovery.
Step 3: Run Discovery (Only If Needed)
For first-time users or browsers that haven't yet completed an embedded checkout, perform wallet discovery.
const discovery = await LoginIDMerchantCheckout.discover("https://wallet.example.com/discover");

const useEmbedded = discovery.flow === "EMBED";
discover() calls the discovery page hosted on your wallet domain. If you're implementing the wallet side, see the Wallet Discovery Page.
The discovery page runs on the wallet domain because passkey availability must be evaluated from the wallet origin.
For details on how to implement the discovery page and what happens during discovery on the wallet side, see the Wallet Discovery Page.
Possible values for flow are:
| Result | Description |
|---|---|
EMBED | The wallet can be loaded in an embedded iframe on the merchant page |
REDIRECT | Embedded checkout is not recommended |
Returning users with a valid merchantTrustId can skip this step entirely.
Step 4: Start Checkout
Once the checkout payload has been created, choose the appropriate experience.
If embedded checkout is available, launch the wallet checkout inside the embedded iframe:
const result = await checkoutFrame(request);

window.location.href = `${result.callback}?data=${encode(result)}`;
Otherwise, redirect the user to the wallet.
window.location.href = `${walletUrl}/checkout?data=${encode(request)}`;
Step 5: Mark Successful Embedded Checkout
After a successful embedded checkout, mark the current merchantTrustId as trusted.
await LoginIDMerchantCheckout.markMerchantTrustId();
Future checkout attempts can now skip discovery by calling:
const trusted = await LoginIDMerchantCheckout.isMerchantTrustIdValid();
This optimization reduces page load time for returning users by allowing the SDK to immediately launch the embedded checkout experience whenever possible.
Example Checkout Flow
Putting everything together:
// Step 1: Get or create the browser's merchantTrustId.
const merchantTrustId = await LoginIDMerchantCheckout.getMerchantTrustId();

// Step 2: Check whether this browser is already trusted.
const trusted = await LoginIDMerchantCheckout.isMerchantTrustIdValid();

let embed = trusted;

// Step 3: Run discovery only if needed.
if (!trusted) {
  const discoverResult =
    await LoginIDMerchantCheckout.discover(
      `${walletUrl}/discover`
    );

  embed = discoverResult.flow === "EMBED";
}

// Attach the merchantTrustId to the checkout object that wallet will receive.
checkoutRequest.merchantTrustId = merchantTrustId;

// Build the checkout payload.
const encodedRequest = stringToBase64Url(JSON.stringify(checkoutRequest));

// Step 4: Start checkout.
if (embed) {
  const result = await checkoutFrame(request);

  // Step 5: Mark this browser as trusted after a
  // successful embedded checkout.
  await LoginIDMerchantCheckout.markMerchantTrustId();

  const encodedResult = stringToBase64Url(JSON.stringify(result));

  window.location.href = `${result.callback}?data=${encodedResult}`;
} else {
  window.location.href = `${walletUrl}/checkout?data=${encodedRequest}`;
}
Check out the Merchant Checkout Demo, which brings together discovery, embedded checkout, and redirect into a single implementation.