Sign In With Passkey Autofill
This guide extends Sign In With Passkey, allowing the user to authenticate using passkey autofill.
Prerequisites
- Create an application to obtain a base URL. The SDK uses this base URL to interact with the LoginID authentication service.
Setup SDK
- Javascript
- Kotlin
- Swift
npm i @loginid/websdk3
Import and initialize an instance:
import { LoginIDWebSDK } from "@loginid/websdk3";

const lid = new LoginIDWebSDK({
  baseUrl: process.env.LOGINID_BASE_URL,
});
To obtain the SDK:
- Go to the LoginID Dashboard and select one of your apps.
- Open the Get Started section and choose the Android icon.
- Follow the instructions to download the binary
.aarfile and include it in your project.
Initialize a singleton configuration for the LoginID service in the application's onCreate method.
class MyApp : Application() {
    override fun onCreate() {
        super.onCreate()
        // Initialize the singleton instance
        val config = LoginIDServiceConfig("<BASE_URL>")
        LoginID.configure(config).client()
    }
}
To obtain the SDK:
- Go to the LoginID Dashboard and select one of your apps.
- Open the Get Started section and choose the iOS icon.
- Follow the instructions to download the binary
xcframeworkfile and include it in your project.
Configure the singleton instance of LoginIDSDK with a base URL during the app's launch in the App struct initializer.
import SwiftUI
import LoginID

@main
struct MyApp: App {
    init() {
        let baseUrl = "<BASE_URL>"

        // Initialize the singleton instance
        LoginIDSDK.shared.configure(baseUrl: baseUrl)
    }

    var body: some Scene {
        WindowGroup {
            ContentView()
        }
    }
}
Passkey Autofill Example
- Javascript
- Kotlin
- Swift
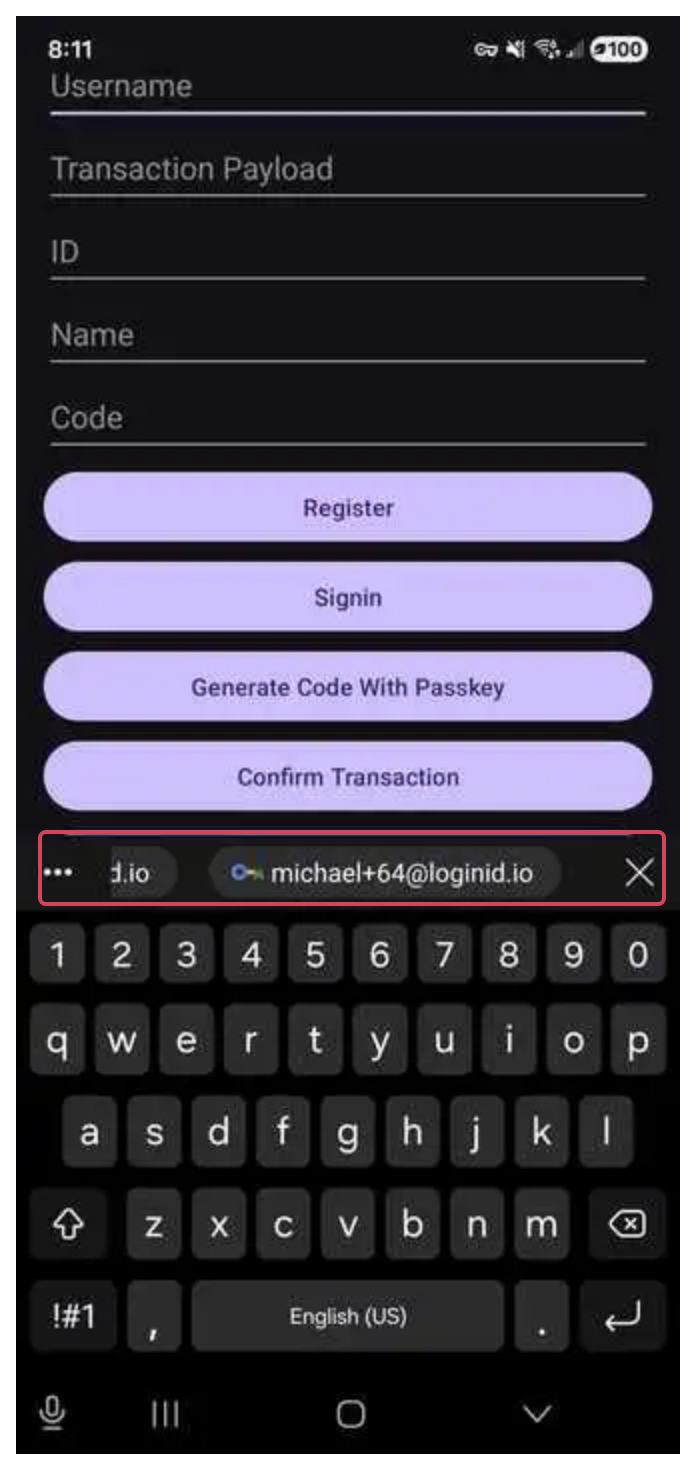
This method automatically uses the WebAuthn Signal API to keep a user’s passkeys synchronized between the authenticator and the LoginID server. This helps ensure that passkey information shown in the browser remains up-to-date, including helping remove revoked or stale passkeys from the user's authenticator.
Make sure to include the autocomplete attribute to the username input field with the value "username webauthn".
<form>
  <label for="username">Email:</label>
  <input
    type="email"
    id="username"
    name="username"
    autocomplete="username webauthn"
    autofocus
    required
  />
  <button type="submit">Sign In With Your Passkey</button>
</form>
To initiate passkey autofill call authenticateWithPasskeyAutofill() during component or page load.

Here’s an example of how this looks in React using the useEffect hook.
import { LoginIDWebSDK, PasskeyError } from "@loginid/websdk3";

// Initialize the SDK with your configuration
const config = {
  baseUrl: process.env.BASE_URL,
};

const lid = new LoginIDWebSDK(config);

/*
 * Setting up conditional UI and passkey login
 */
const Login: React.FC = () => {
  const [username, setUsername] = useState<string>("");
  const [error, setError] = useState<string>("");

  // Start autofill
  useEffect(() => {
    const conditionalUI = async () => {
      try {
        const { token } = await lid.authenticateWithPasskeyAutofill();

        // Submit token to the server.
      } catch (e) {

        // Autofill flow is expected to abort if the user interacts with
        // the manual passkey login instead
        if (e instanceof PasskeyError && e.code === "ERROR_PASSKEY_ABORTED") {
          return
        }

        if (e instanceof Error) {
          setError(e.message);
        }
      }
    };

    conditionalUI();
  }, []);

  const handleSubmit = async (e: React.FormEvent) => {
    e.preventDefault();

    try {
      const authResult = await lid.authenticateWithPasskey(username);

      if (authResult.isAuthenticated) {
        // You can return LoginID token to your backend for verification (authResult.token)

        setAuthUser(user);
      } else {
        // Default to your fallback CIAM authentication method
      }
    } catch (e) {
      if (e instanceof Error) {
        setError(e.message);
      }
    }
  };

  return (
    // This is a mini sample UI form
    <form onSubmit={handleSubmit}>
      <div>
        <label htmlFor="username">Email:</label>
        <input
          type="email"
          id="username"
          name="username"
          value={username}
          onChange={(e) => setUsername(e.target.value)}
          required
          autocomplete="username webauthn"
          autofocus
        />
        <button>Sign In With Your Passkey</button>
      </div>
    </form>
  );
};
Make sure the username input is backed by a View-based element (such as EditText).
Call authenticateWithPasskeyAutofill() after the view is created, typically inside a LaunchedEffect once the EditText (or other relatable View element) reference is available. Android will then display the passkey keyboard inline suggestions or autofill sheet if a matching credential exists.
Passkey Autofill on Android has the following limitations:
- Android 15+ required for autofill UI
- On Android 14 and below, calling
authenticateWithPasskeyAutofill()will safely do nothing - Only View-based inputs are supported
import com.loginid.LoginID

@Composable
fun LoginScreen() {
    val context = LocalContext.current
    val activity = context as Activity

    var username by remember { mutableStateOf("") }
    var error by remember { mutableStateOf("") }
    val scope = rememberCoroutineScope()

    var usernameEditText: EditText? by remember { mutableStateOf(null) }

    Column(
        modifier = Modifier
            .fillMaxSize()
            .padding(20.dp),
        verticalArrangement = Arrangement.spacedBy(16.dp)
    ) {
        AndroidView(
            modifier = Modifier.fillMaxWidth(),
            factory = { viewContext ->
                EditText(viewContext).apply {
                    hint = "Username"
                    setSingleLine(true)

                    addTextChangedListener {
                        username = it.toString()
                    }

                    usernameEditText = this
                }
            },
            update = { editText ->
                if (editText.text.toString() != username) {
                    editText.setText(username)
                    editText.setSelection(username.length)
                }
            }
        )

        Button(
            modifier = Modifier.fillMaxWidth(),
            onClick = {
                scope.launch {
                    try {
                        val result = LoginID.client().authenticateWithPasskey(
                            activity = activity,
                            username = username
                        )

                        if (result.isAuthenticated == true) {
                            // You can now send the authToken to be verified on your server
                        } else {
                            // Default to your fallback CIAM authentication method
                        }
                    } catch (e: LoginIDError) {
                        error = e.message
                    } catch (e: Exception) {
                        error = e.message ?: "Unknown autofill error"
                    }
                }
            }
        ) {
            Text("Sign In With Your Passkey")
        }

        if (error.isNotEmpty()) {
            Text(error, color = MaterialTheme.colorScheme.error)
        }
    }

    // Automatically run when appears
    LaunchedEffect(usernameEditText) {
        val editText = usernameEditText ?: return@LaunchedEffect
        try {
            val result = LoginID.client().authenticateWithPasskeyAutofill(
                activity = activity,
                usernameAnchorView = editText
            )

            // Return LoginID token to your backend for verification
        } catch (e: LoginIDError) {
            error = e.message
        } catch (e: Exception) {
            error = e.message ?: "Unknown autofill error"
        }
    }
}
Set the text field’s content type so iOS can surface stored passkeys:
.textContentType(.username)
This is required for the system to recognize the field as a passkey‑eligible username input.
Call authenticateWithPasskeyAutofill() when your view appears. iOS will handle the rest through the keyboard’s suggestions.

Native iOS apps do not show a standalone autofill popup like browsers do. Instead:
- The user must tap the username field.
- The keyboard will then show available passkeys in the suggestion bar.
- Autofill will not appear automatically. This is an iOS limitation.
import SwiftUI
import LoginID

struct Login: View {
    @State private var error: String = ""
    @State private var username: String = ""

    init() {
        // Configure the LoginID SDK
        LoginIDSDK.shared.configure(
            baseUrl: "<BASE_URL>",
        )
    }

    var body: some View {
        VStack(spacing: 16) {
            TextField("Username", text: $username)
                .textFieldStyle(RoundedBorderTextFieldStyle())
                // Have this as `.username` for passkey autofill to work
                .textContentType(.username)

            Button("Sign In With Your Passkey") {
                Task {
                    await passkeyLoginHandler()
                }
            }

            if !error.isEmpty {
                Text(error).foregroundColor(.red)
            }
        }
        .padding()
        .onAppear {
            Task {
                await autofill()
            }
        }
    }

    private func autofill() async {
        do {
            //  Passkey autofill authentcation
            let result = try await LoginIDSDK.shared.authenticateWithPasskeyAutofill(
                options: nil
            )

            // Return LoginID token to your backend for verification

            AuthContext.setAuthUser(user)
        } catch let error as LoginIDError {
            self.error = error.message
        } catch {
            self.error = error.localizedDescription
        }
    }

    private func passkeyLoginHandler() async {
        do {
            let result = try await LoginIDSDK.shared.authenticateWithPasskey(
                username: username,
                options: options
            )

            if let isAuthenticated = result.isAuthenticated {
                // You can now send the authToken to be verified on your server
            } else {
                // Default to your fallback CIAM authentication method
            }

            AuthContext.shared.setAuthUser(result.user)
        } catch let error as LoginIDError {
            self.error = error.message
        } catch {
            self.error = error.localizedDescription
        }
    }
}
Once you have received the result LoginID token, you can send it to your backend, and verify it. For detailed technical instructions, refer to this section on verifying LoginID tokens.